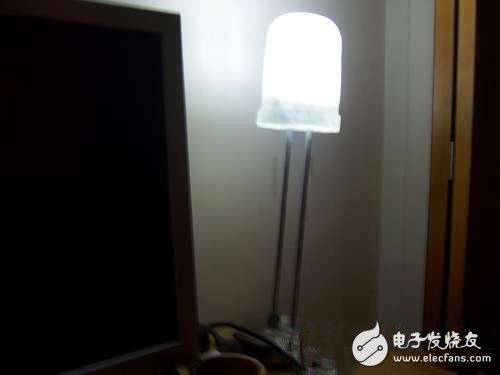
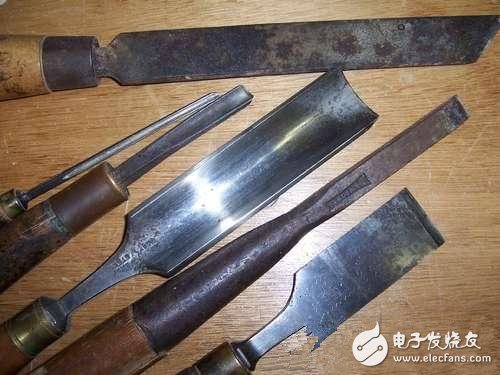
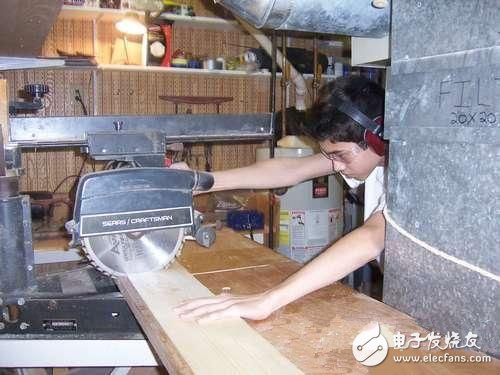
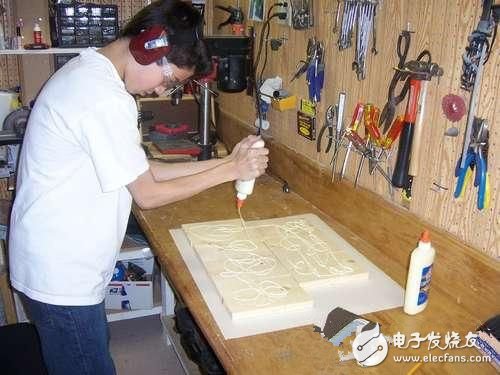
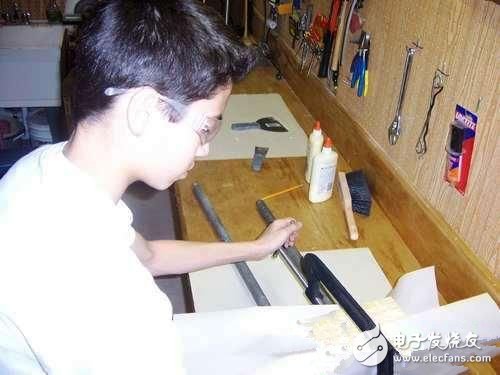
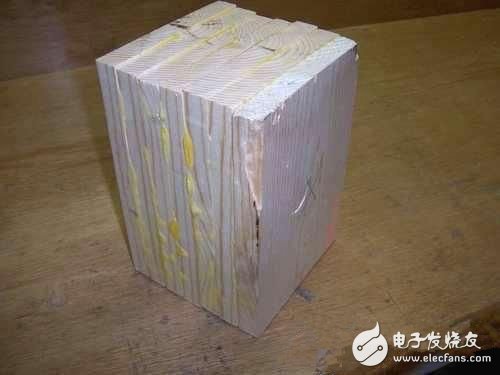
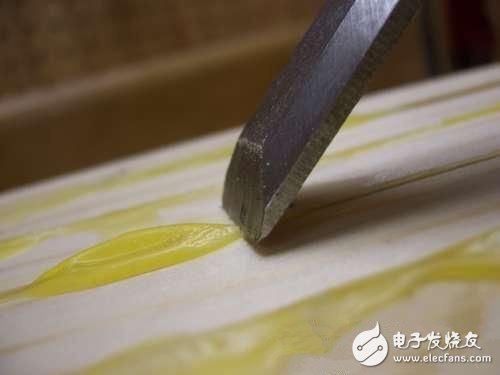
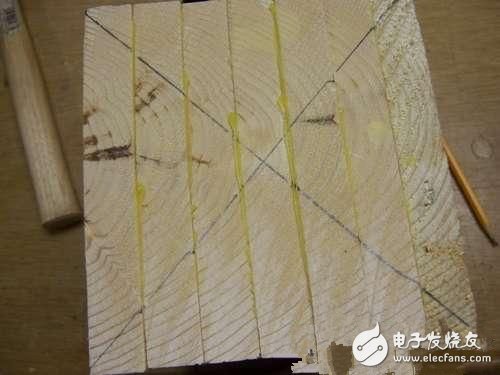
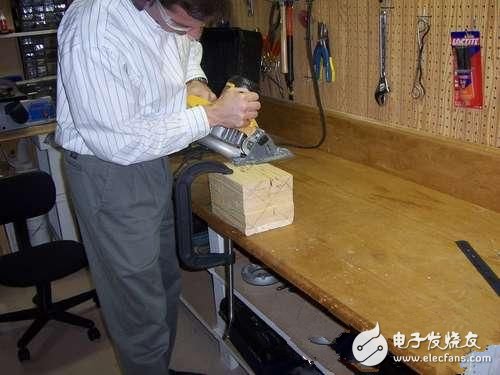
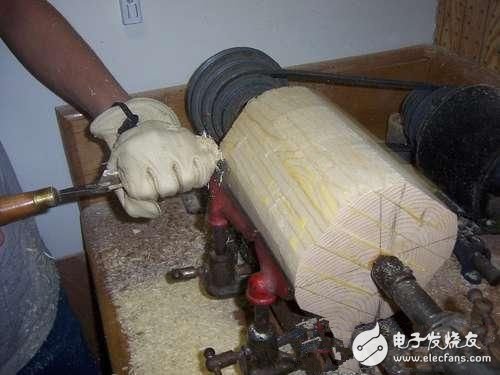
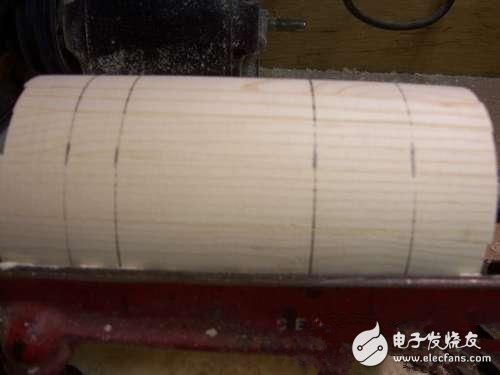
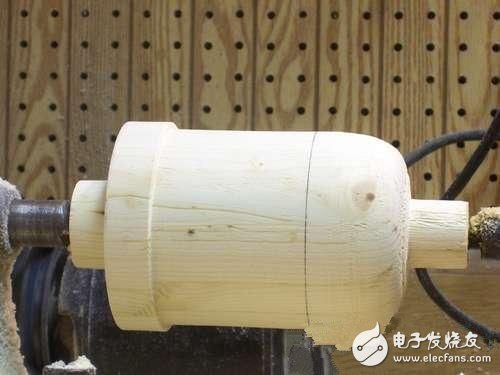
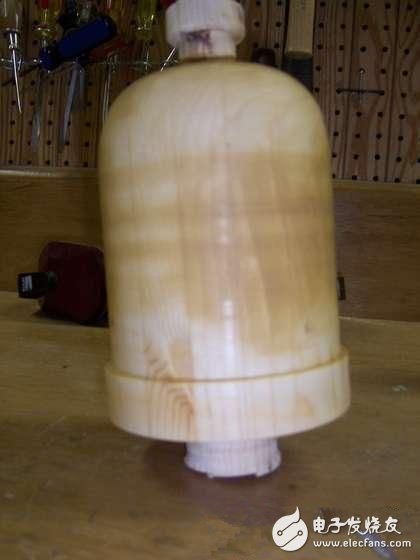
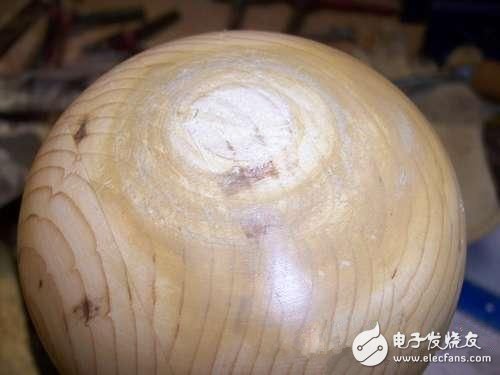
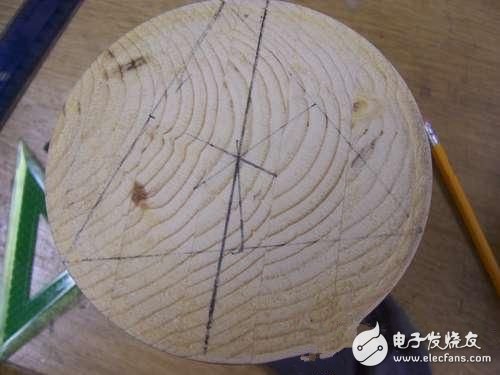
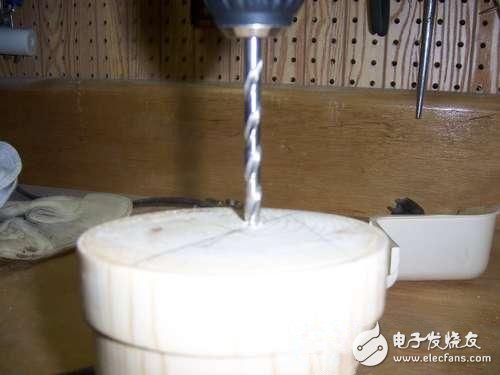
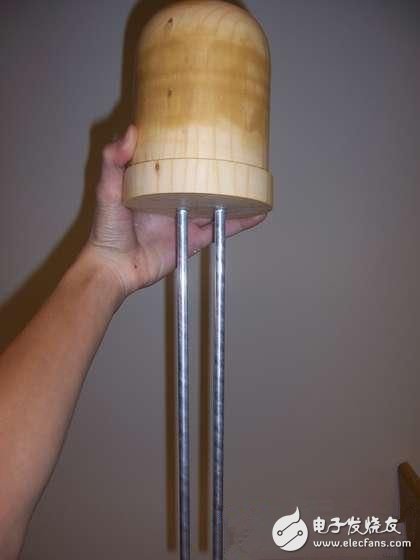
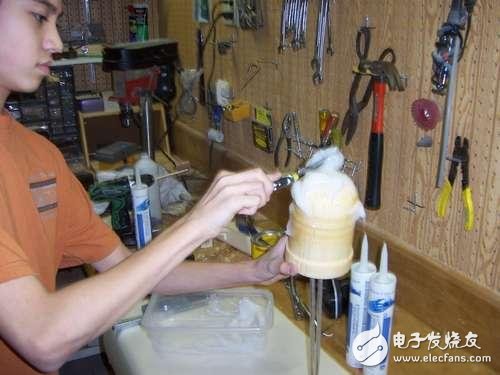
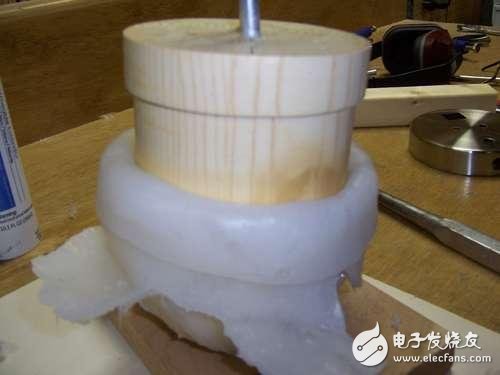
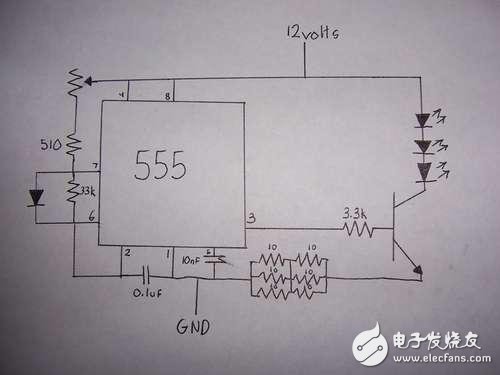
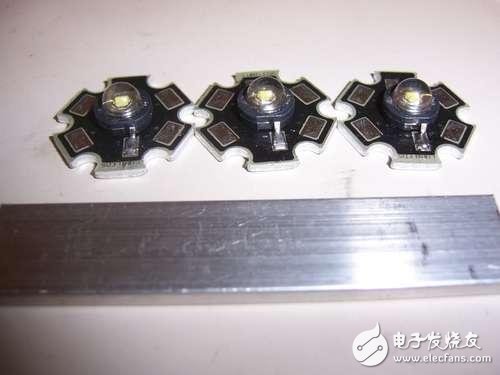
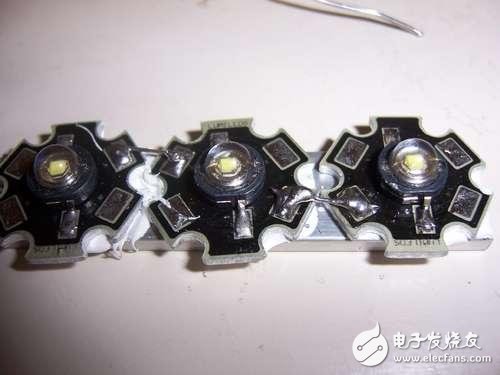
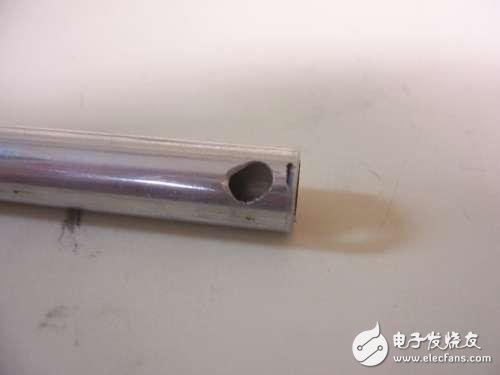
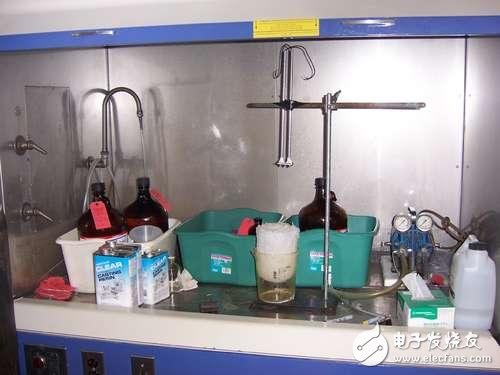
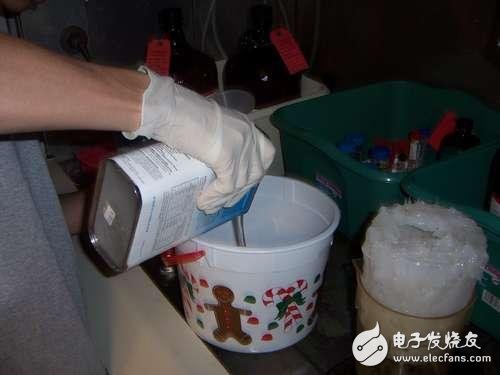
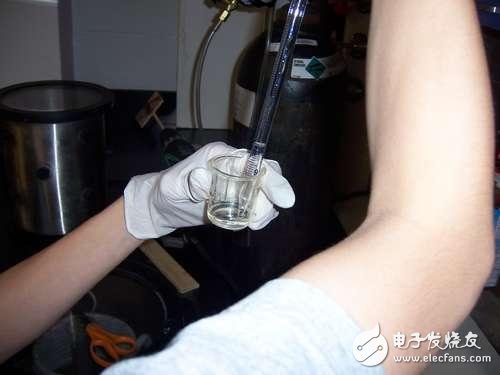
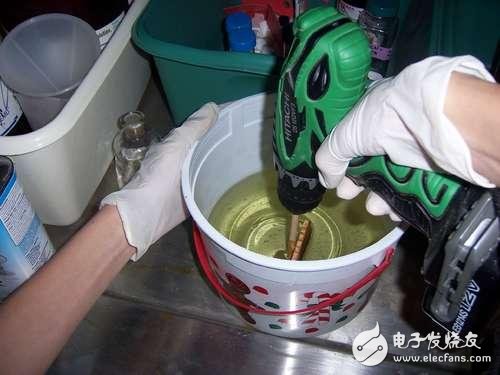
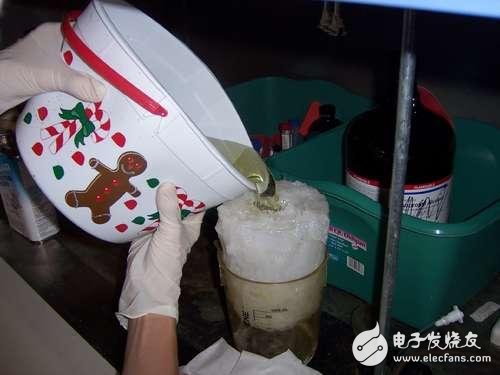
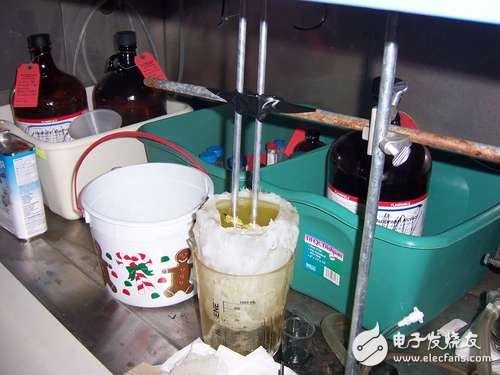
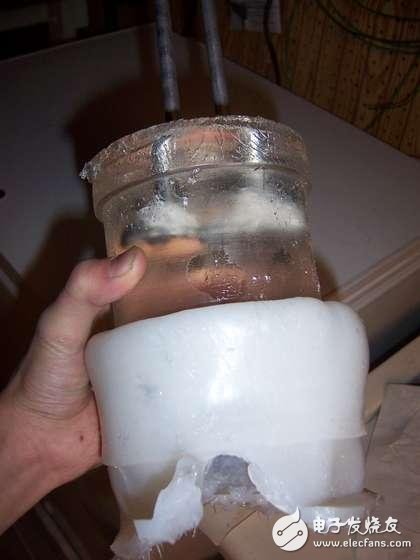
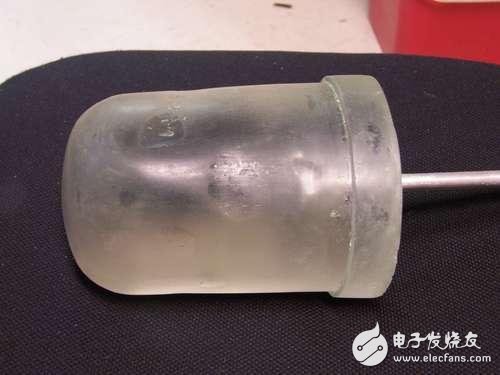
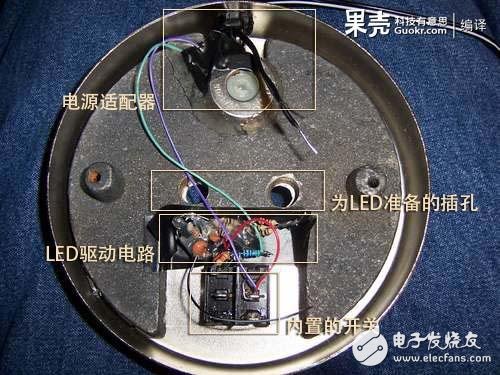
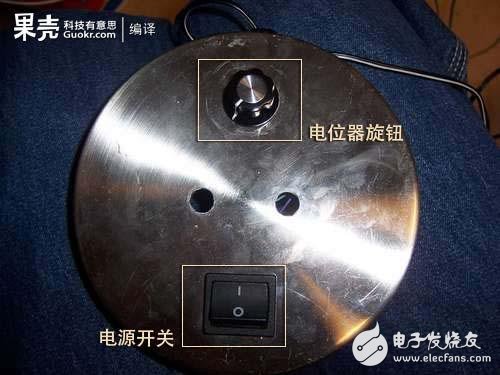
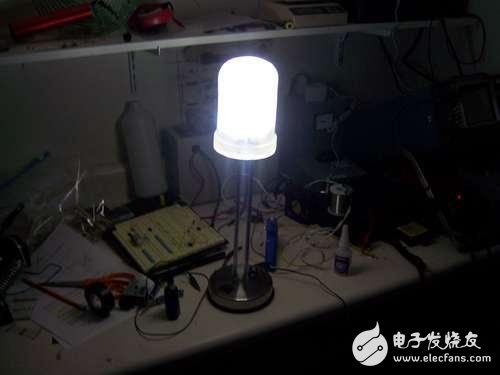
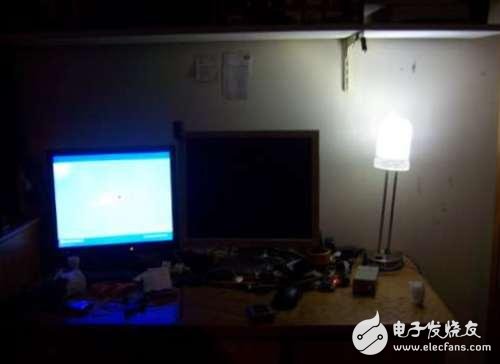
This is a 10x magnification version of a hand-made regular 10mm LED that contains three 1W power LEDs, cast from resin. It also includes a pulse width modulation (PWM) dimming circuit. I started with a wooden model for making LEDs; I used a silicone mold to make a cast mold; I finally poured the resin into the silicone mold. I will bring you the world's largest homemade LED! This somewhat complicated production involves the following skills: - soldering / electronic technology (know how to read the circuit diagram) - Woodworking (requires the use of lathes, wire saws, various sanders, drilling machines, etc.) - Resin casting (this is also the first time I cast something, so don't worry about the difficulty) Production steps: 1 Making LED wood mold 1.1 LED wood mold tools and materials â— Lathe â— Various turning tools â— Wire saw / jig saw â— Vibration sanding machine â— Belt sander â— clamp â— Chisel (or other tool that can scrape off the glue) â— Rocker saw (or other tools for cutting pine boards) â— Putty knife (optional, but good to use) â— Safety protection: protective glasses (required), ear protection (highly recommended), mask or mask (highly recommended, especially when sanding) â—15 universal circuit boards â—2.5cm*15cm*20cm pine board â—Woodworking glue â— newspaper â—paper towel 1.2 Cutting wooden boards You need to saw the board into a 20cm long section (requires about 6-8 segments). Our goal is a wooden block of 20cm*14cm*14cm. 1.3 Bonding wood Now the wood is divided into small pieces of 20cm long, we need to glue them into pieces of wood so that they can be processed on a lathe. Apply a thin layer of glue on each surface of the wood to remove the sawdust (this is important) (do not use too much at all!) and then clamp together. Pick it before bonding the wood. The worst wood is placed in the middle or outside (the middle will be hidden, and the outermost will be cut off most). Place the pad in advance so that the glue is everywhere on the clip and tool table. These pieces of wood will bend after being glued, and since they come from the same piece of wood, the direction of the bend should be the same. When the upper clamp is attached, pay attention to make all the wooden blocks bend in the same direction, so that the gap between the blocks is small, and the final combination is stronger. After the glue dries, the excess glue is scraped off. When the glue is cured, it is harder than wood and will cause more loss to your lathe tool. 1.4 lathe processing If this is your first time hitting a lathe, maybe you should read the instructions and tutorials. I believe that the lathe is a very safe tool, but if you don't know what you have done on it, it can be a very deadly dangerous thing. Draw an X at the approximate center of each face of the block. 1.5 turning cylinder The block was rounded with a chisel, and then it was driven into a uniform cylinder of 11 cm in diameter by a chisel and a chisel. If you don't have a caliper, you can measure it with a caliper and a ruler. That's what I did. Use your ruler to mark the length of 14cm on the block, which is the total length of the LED. Starting from the left side of this length, mark the points 2cm and 10cm. 1.6 Making a surface First of all, don't turn the 2cm part. They are the lip of the LED in the future. The diameter of 11cm has already met the requirements. Use a chisel to cut the excess to the minimum diameter required for the lathe to work properly. Then, the large portion of 10 cm in length is processed, and all the right side except the excess portion is cut to a diameter of 10 cm, and the portion which is expected to be curved is gradually cut downward. After finishing, polish and then add some wax. I am not sure if I have to do this, at least I did it. 1.7 cutting and polishing the top I don't know what modern machine tools will be, but my one left a small column that needs to be cut off at both ends. Generally I will use a band saw to saw it, but the LED is too big, so I chose a jig saw. The saw marks are as close as possible to the LED. It looks like the color is different, but the arc is the same. In the curved part, after sawing off, use a vibrating sander to smooth, and the base side is sanded with a belt sander. Some wax is applied to the newly polished surface. Now you have a wooden version of the LED head! 1.8 Find the center, drill Next you need to find the center of it so that you can drill two mounting holes for the LED pins at equidistant locations. This step is not necessary because you can not pack the base into the silicone. (To replace this, you only need to drill a hole in the center and insert a pin, both the support and the mold.) To find the center you need a ruler and a right triangle. Feel freely draw an inscribed triangle on the base of the LED, find the midpoint of each side, use the triangle ruler to draw the vertical bisector of each side, they should intersect at the same center point, which is the center of the triangle circumscribed circle It is also the center of the LED. Now that you have found the center of the circle, draw a diameter. Drill two holes (size refer to the "pin" diameter you used in the next step), each separated by 1.5 cm from the center of the circle. 1.9 Do LED pins and supports Cut 4 aluminum tubes (Annotation: 4 original, 2 suspected in the picture). To pinpoint the length, at least 30cm, then add the length that it is inserted into your base (these aluminum tubes will become the pins of the LED). In my case, I chose a length of 32cm. Use super glue (or other high-strength adhesive) to stick these pins to the wooden LED. Now that all the woodworking is finished, I am very happy! 2 Using LED wood mold to make casting mold 2.1 Mold material and production - 4 cans of silicone filler - About 10ml of glycerin. In order to make the silicon filler more suitable for making the mold, 2.5 ml of glycerin was added to each can of the filler. Mix evenly with your silicon filler and glycerin! Applying the mixed filler to the wooden LED, I also applied the base part, but this caused a lot of trouble later, so I recommend not applying the filler to the bottom. Then pay attention to the lip coated with a thick enough filler, it is easy to only have a thin layer, and later cracked, I ate this loss. I applied the mold twice and used one can of filler each time. Note: The smell of this thing is really bad. Imagine that the smell of 100 times stronger than vinegar burns your eyes and throat. Pay attention to ventilation. 2.2 demoulding It should be relatively simple to remove the wooden LED from the cured silicone rubber, as long as you don't apply a lot of silicon filler on the pedestal like me. When the silicone mold is removed from the wood mold, try rolling it up and peeling it off slowly. 3 electronic circuit 3.1 Materials and tools You should have some experience in electronics production, but this is not required. Need these electronic components: -(1X)555 timer -(1X) 0.1uF capacitor (usually with porcelain) -(1X)100K ohm linear potentiometer -(1X) potentiometer knob -(1X) 33K ohm resistor -(10X)10 ohm resistor (1/4 watt or more) -(1X)3.3K ohmic resistance -(1X) 510 ohm resistor - (1X) 0.25" knob - (3X) 1 watt white LEDs (usually they are soldered on a star PCB) - (1X) switch (obtained from an old lamp holder I prepared for the LED) -(1X)NPN transistor (I used a 2N4401) - (1X) diode (I used a 1N4148) Note: The resistance value can be adjusted as long as it is close to the value I gave (except for the 10 ohm resistor, do not change to other resistance) -Aluminum -thermal adhesive â— Welding tools 3.2 LED drive circuit The driver circuit I made for this LED includes a current-limiting resistor (consisting of some series-parallel resistors), and a 555 timer chip that can send pulses of different duty cycles to the LEDs to adjust the brightness of the LEDs. I personally use the method of hanging the legs to do the welding (not using the circuit board or the universal board), just because I don't like to cut a small monolithic board and then study how to arrange the wiring. 3.3 Installing the LED Install the LED with a thermal paste on a small piece of aluminum strip. These LEDs will generate a lot of heat and will be hotter in the resin, so heat them as much as possible (the heat will be exported through the post-mounted aluminum tube). It is convenient to install the attention LEDs in the direction and then connect them together. 3.4 Drilling and bonding aluminum tubes Drill a 1/8-inch hole in the top of each aluminum tube (perhaps a little bigger, as you can see it yourself), and the LED's power supply line will pass through the aluminum tube and eventually pass through the hole. Each tube passes through a line. After wearing the wire, fix it with a thermal adhesive and attach the aluminum tube to the back of the aluminum substrate that has just been bonded to the LED. Later, I added a lot of glue, because the original glue is not enough to ensure strength. 4 cast LED 4.1 Materials and tools required to cast LEDs -1.4kg liquid transparent resin - About 5.6ml of curing agent (or 120 drops, I tried to measure how many milliliters per 10 drops, then converted it) â— Mixing bucket â— Electric drill and baffle, or a wooden mixer (electric drill is easier, faster, and safer) â— Equipment for holding LED molds 4.2 Filling the mold Pour the resin into a silicone mold that is upright with a beaker or other container. 1.4kg of liquid resin is evenly mixed with 5.6ml of curing agent (it is easier to use a drill and agitator, I made one with a wooden stick attached to a small piece of wood). All of the resin was poured from the top opening of the mold. After the resin is poured, insert the soldered LED Module (fixed with tape or clamp), then you can walk away and wait for it to harden (remember to ensure that the LED pins are vertical before going). Note: These things smell bad, so find a well-ventilated place to work. 4.3 casting demoulding This is similar to the demoulding of the previous wooden mold, so I won't say much. The surface that has just been released is still very rough. 4.4 Polishing The casting process is hard to perfect, and the LED surface has ripples, pits, lines, and everything else that can be thought of. Grind with a vibrating sander (180 mesh) to remove all large, uneven parts. Then slowly polished, and finally used a 600-mesh abrasive (because I have no higher label). After the sanding is completed, it is polished with a polishing agent and a soft cloth. Unfortunately, during the polishing/grinding process, all the unsatisfactory defects were not removed. 5 finishing work 5.1 All parts assembly I installed the LED driver circuit in an old lamp holder instead of the original AC mains plug. I used a 12V350mA power adapter to power it. Switch and knob on the lamp holder 5.2 Insert LED There is no difficulty in this. Insert the LED and glue it with epoxy or super glue. After drying, connect the two lead wires of the LED to the output and bottom line of the 555 drive circuit. Stand up and shine! This is the state of maximum brightness of the LED 5.3 You're done! The LED lights are now complete, you can adjust the different brightness, so that the heat of the lights is not so serious. I hope you can enjoy the fun of DIY, the biggest LED!
Landscape Lamp lighting is decorative light source configuration of city garden landscape,cultural and recreational square and large-scale social activities widely used and essential,is a decorative lighting products.Our company's landscape lighting products mainly have Decorative landscape lamp,Alumiunm alloy Lawn lamp,Alumiunm profile Garden Lamp.
Rod material diverse use of flexible,light,sound,light,electricity three-in-one,structure and morphology in different poses and with different expressions,beautify,lighting,green organic combination,light and shadow,perfect crystal lamp and art.
Landscape Lighting Series,Landscape Lighting Kits,Landscape Lighting Led,Landscape Lighting Wire Jiangsu chengxu Electric Group Co., Ltd , https://www.chengxulighting.com